

Appkata-Node-RED
Bringing Node-RED to your Fly applications Read this guide on Fly.Rationale
If you are looking for a quick way to interconnect your various applications then Node-RED may be the low code option you’ve been looking for. Node-RED began its life as a way of putting together Internet Of Things applications, modeling systems as a flow of events which entered through an input node, passed through processing nodes, and eventually arrived at an output node or nodes. For example, an MQTT event could arrive through an MQTT node, be passed through some processing nodes, and be output as a new record in a database or forwarded to another messaging system. If that sounds complex, Node-RED visualizes these flows as an interactive graph you can manipulate. But enough about Node-RED, you can install it and try it locally yourself. We’re here today to show you how to launch Node-RED on Fly. And in the process, how to refine an application on Fly for best fit.Preparing
The first thing to do is to install Node-RED locally, as there are some command-line operations we’ll need later.Initialising
The simplest way to get up and running with Node-RED on Fly is to use the nodered/node-red docker image. You can do this in one line: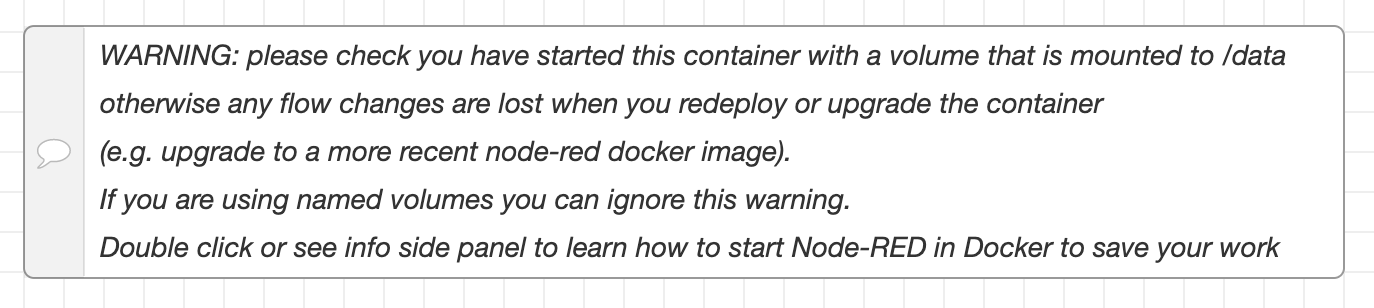
Volumes
What that error is about is that the /data directory in the Node-RED image doesn’t have isn’t writable. We need to give our application a writable, persistent storage space, which is where Fly volumes come in. We can create a volume, local to our application, and get Fly to mount it on /data. First step in that process is to create a volume with a name:fly.toml file and where we see:
node_red_data should be mounted on the /data directory. With that in place, we can fly deploy and fly open our app. There’s no warning and Node-RED flows are safe over redeploys.
There’s only one problem…
Securing Node-RED
You may have noticed that there’s no password authentication when we connect to Node-RED. There is an option to turn it on in the Node-RED settings.js file, but that file is notionally on the /data volume. How can we get a file there with our settings? Let’s get the settings.js file first. You can find the default settings file in the Node-Red repository. Download that and save it assettings.js.
Next, we take control of the build process.
Switching to a Dockerfile
This is where Fly’s flexibility comes into play. We can switch deployment from just deploying an image to using a Dockerfile to create our own image. We’ll create a Dockerfile to reproduce what we’re currently doing first:[build] instruction from fly.toml, deleting or commenting out the part that reads:
fly deploy you’ll see this instruction being run and the app deploy as it previously did.
Customizing Startup
When images startup, they have a command to be run and its that command we want to take over. The Node-RED image calls npm to start the Node-RED service like so:settings.js file over to /data/ before we start up Node-RED. This can all go in a script called entrypoint.sh.
- We copy the settings.js file into the image we are creating
- We switch to the root user
- We then copy the entrypoint.sh script to the file system root
- And we make it executable
- Then we switch back to the node-red user
- And set our entrypoint to this image to our entrypoint script.
node-red user as its last act, which is why we do the user switcheroo. The other is that yes, if our script was already executable, then it would be executable in the image. But just in case, and because invisible effects are invisible, we explicitly set the script to executable.
Now we can fly deploy and fly open the app again.
And everything is exactly the same! Which isn’t surprising because we haven’t changed the settings.js file so it’s all still running of defaults.
Adding a Password
Open up thesettings.js file and find the “Securing Node-RED” section. You’ll see an example of what we need to add immediatly below that: it’s an adminAuth object.
Add to the file a section that should look like this:
node-red admin hash-pw and enter your password when prompted. It’ll return a string which you should copy in where hashedpassword appears above.
Now we can fly deploy and fly open and be greeted with:
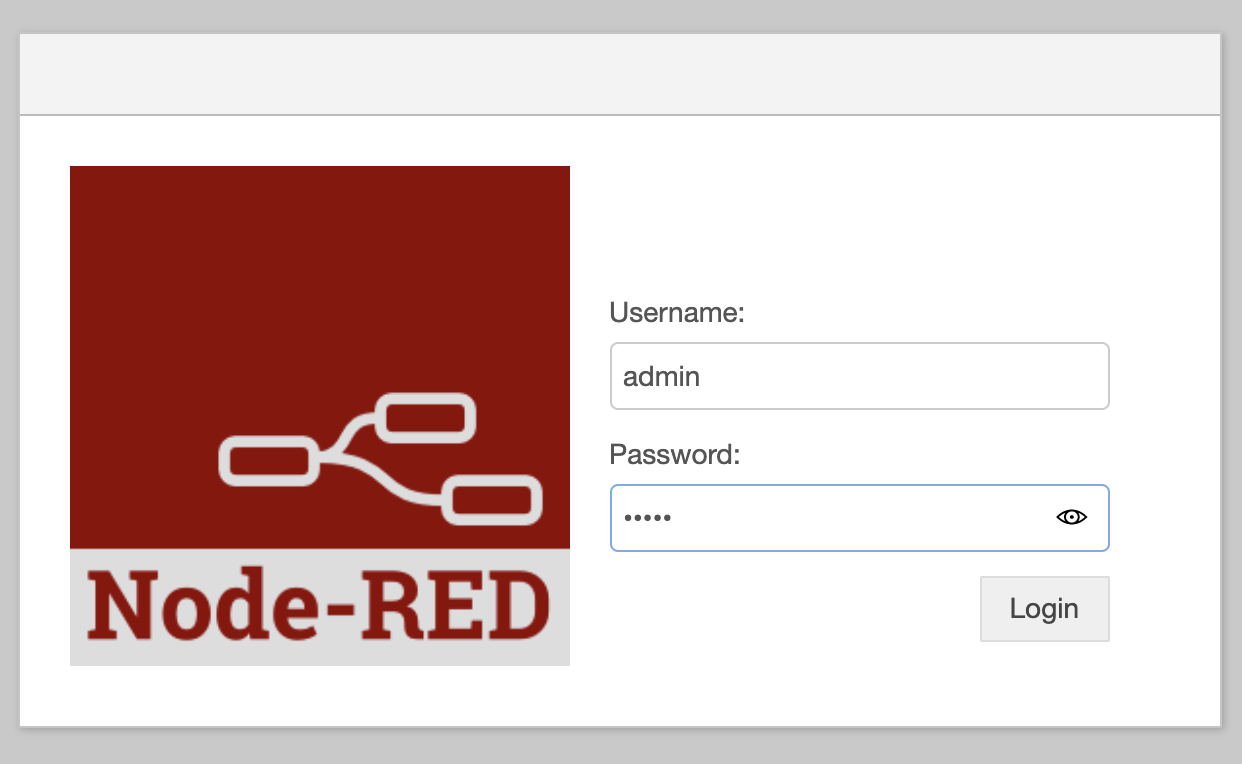 Now we can login as admin and the password we set and we’ve secured access to our Node-RED.
Notes
We’ve put together a deployable Node-RED image for Fly. In the process, we’ve seen how we can take control of existing images and supplement their build process to add in functionality, and how we can use scripts to take over the startup of an image to make modifications we want in place. For Node-RED administration, editing thesetting.js file locally and deploying will update our installed settings, so you can explore all the optional controls. For Node-RED usage, think of it as a graphically configurable glue layer within your system. You can install many of the third party nodes available and plug into many more applications and platforms.
Discuss
- You can discuss this example on the community.fly.io topic.